

Cloud init is a package used to initialize a cloud instance. Widely used to customize Linux virtual machines, where it executes custom configurations that you want for a VM on its first startup. It can be used to configure users, install packages, generate and configure SSH keys.
Cloud-init is a highly used resource when we talk about virtual servers provided by the big “players” of clouds.
It’s interesting for clouds and VMs because its custom kernel doesn’t support anything a VM doesn’t need to work. That is, it will not support the soundblaster sound card. =).
Was created by Canonical which is the same company that created Ubuntu, and which has an overwhelming share of operating systems in the cloud market.
Google and AWS (among others) are examples of companies that use cloud-init to make VMs available to their customers.
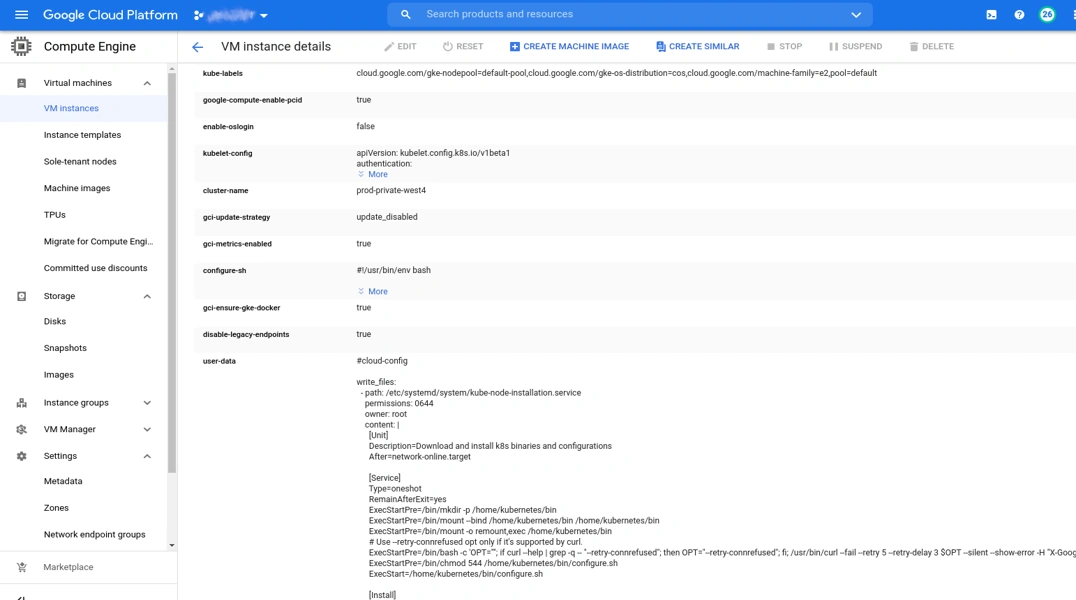
When we use kubernetes or VMs at Google, for example, it is possible to visualize the cloud-init config used by them, which between us, is a tremendous cloud-init config!
As this article is being created as a simple documentation of the process, let’s get straight to the point and so we can better validate what this cloud-init does.
The first, read the official Proxmox + cloud-init documentation:
https://pve.proxmox.com/wiki/Cloud-Init_Support
Second, read at least the introduction to the https://cloudinit.readthedocs.io/en/latest/
The official documentation of proxmox starts with a topic: Preparing Cloud-Init Templates and this confuses the crowd!
The cloud-init images are ready and we can use them without having to prepare anything. This is only for people who need to create their cloud-init templates from scratch.
I chose the ubuntu image in honor of Canonical who made the project available, so the credit goes to them: https://cloud-images.ubuntu.com/groovy/current/
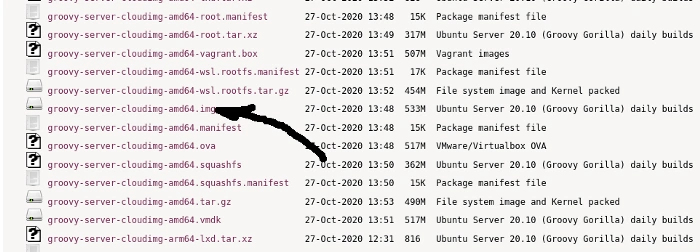
Note that both the “img” format and the “amd64” architecture are compatible with Proxmox. Now choose any node of your proxmox cluster to host the template and access it by ssh:
# wget https://cloud-images.ubuntu.com/groovy/current/groovy-server-cloudimg-amd64.img
# qm create 9002 --memory 2048 --net0 virtio,bridge=vmbr1
Now look at/etc/pve/storage.cfg what is the storage you want to save this image. In this case I will use local storage:
# qm importdisk 9002 groovy-server-cloudimg-amd64.img local
Successfully imported disk as ‘unused0:local:9002/vm-9002-disk-0.raw’

# qm set 9002 --scsihw virtio-scsi-pci --scsi0 local:9002/vm-9002-disk-0.raw
update VM 9002: -scsi0 local:9002/vm-9002-disk-0.raw -scsihw virtio-scsi-pci
We’re almost done. We now have to add a 2 disk which is where we will store the custom configs (roughly speaking).
# qm set 9002 --ide2 local:cloudinit
update VM 9002: -ide2 local:cloudinit
Formatting ‘/var/lib/vz/images/9002/vm-9002-cloudinit.qcow2’, fmt=qcow2 cluster_size=65536 preallocation=metadata compression_type=zlib size=4194304 lazy_refcounts=off refcount_bits=16
Fixing the boot order:
# qm set 9002 --boot c --bootdisk scsi0
Some amd64 cloud-init images are made with openstack compatibility in mind. So we have to add serial0 so that it starts. In case you’re curious, remove serial0 and try the restart, if it doesn’t boot add it again and everything will work:
# qm set 9002 --serial0 socket --vga serial0 update VM 9002: -serial0 socket -vga serial0
Copy your public ssh key to the proxmox server, so we can add this key to the cloud-init template:
[user_machine ~$] scp ~/.ssh/id_rsa.pub root@PROXMOX_NODE:/tmp
Going back to proxmox server:
# qm set 9002 --sshkey /tmp/id_rsa.pub
update VM 9002: -sshkeys ssh-rsa%20AAAAB3NzaC1yc2EAAAADAQABAAABgQC4LX1HAmPWW4qzmqUBsIvgbdlfDS5MKEVK5cpXRxmUErezgVfvodbGlqqnO0T61Dry3KRg1owq62wpH1z8d%2Bh6vZCsJKoyoklC55xlbJgGDSxEB0%2FbUMiwqWkFdjRwQ1V2HOYNJKttoBUFIQvG8V3XSDtw%2Fw3W0aNOAfnheZX10zMJ%2BCuisMkvGGCBRDwnxxi%2BJoeTGrx85yLYfdD6Ca6yba6KeTMcu5PoI1BH5%2Bvt2Ta90BGjyHpLUOZpoqV0AurTEJIO3n5J0z2OH9WhC77Kwz6mG3MSNueA1BcgRUVvaXvJB65ce2azSVcKbXNkTbeBFlc7FhocEAhXrycRR0L6xgo3acvoCBOx4EijtF0itjzqfvNhH9tN9oLj8Qxiz6ttGivzucfWBsc30pUDopWGaJ0syNFE0Wyvs03cDMHb%2F5Vmb8ixE%2BK2nDJe3OXyn%2Bp4GzkWNyVZjYxutg%2FLAFP6bwe6Oe1jSob4I0bA4xT7guHLp93zEqWHRjDFGhXewhk%3D%20USER%40MACHINE%0
Set the user who will have sudo permission:
# qm set 9002 --ciuser gole
update VM 9002: -ciuser gole
Set the machine type. Valuable tip from Tomas 2w-consultoria.
# qm set 9002 --machine q35
update VM 9002: -machine q35
Finally, turn it into a template:
# qm template 9002
Finally clone the template to a new machine:
# qm clone 9002 139 --name VMNAME --full
Configure the IP it will use:
# qm set 139 --ipconfig0 ip=172..xxx.xxx.5/24,gw=172.xxx.xxx.1
Resize the disk to a size it will take up on this VM:
# qm resize 139 scsi0 +45G
Image resized.
Turn on the VM:
# qm start 139
Wait for it to start and run ssh from the machine that had the public key:
$ ssh -l gole 172.xxx.xxx.5
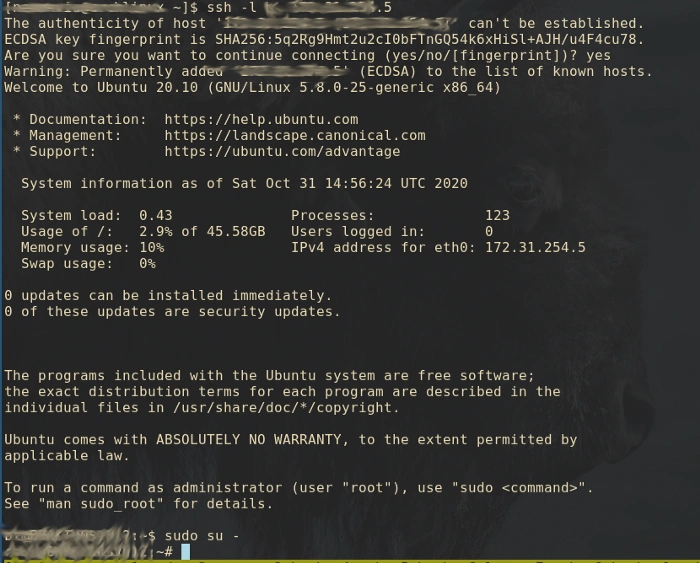
Bingo! Inside the server without doing any installation!
You can set vlans, DNSs and everything your new VM needs to work. You can also customize cloud-init with cicustom. Take a look at the official documentation.
When cloud-init first goes up, it will install some packages, so 1st boot takes a little longer to release apt.
Success!